Say Goodbye to Paid Cloud Storage! Build Your Own Private Photo Cloud with an Old Computer and Immich (A Beginner-Friendly Guide)
Have you ever been frustrated by these problems?
- Your phone’s photo album is constantly full, and the monthly cloud storage subscription fees keep piling up.
- You’re worried about your photo privacy, fearing a “cloud service” data breach could happen to you one day.
- Your family’s photos are scattered across different phones and computers, and finding a specific group photo feels like searching for a needle in a haystack.
If you answered “yes,” then you’re in for a treat! Today, I’m going to introduce you to an open-source marvel called Immich and show you, step-by-step, how to use a spare old computer to build your very own private photo cloud with unlimited storage that rivals Google Photos.
✨ Why Choose Immich?
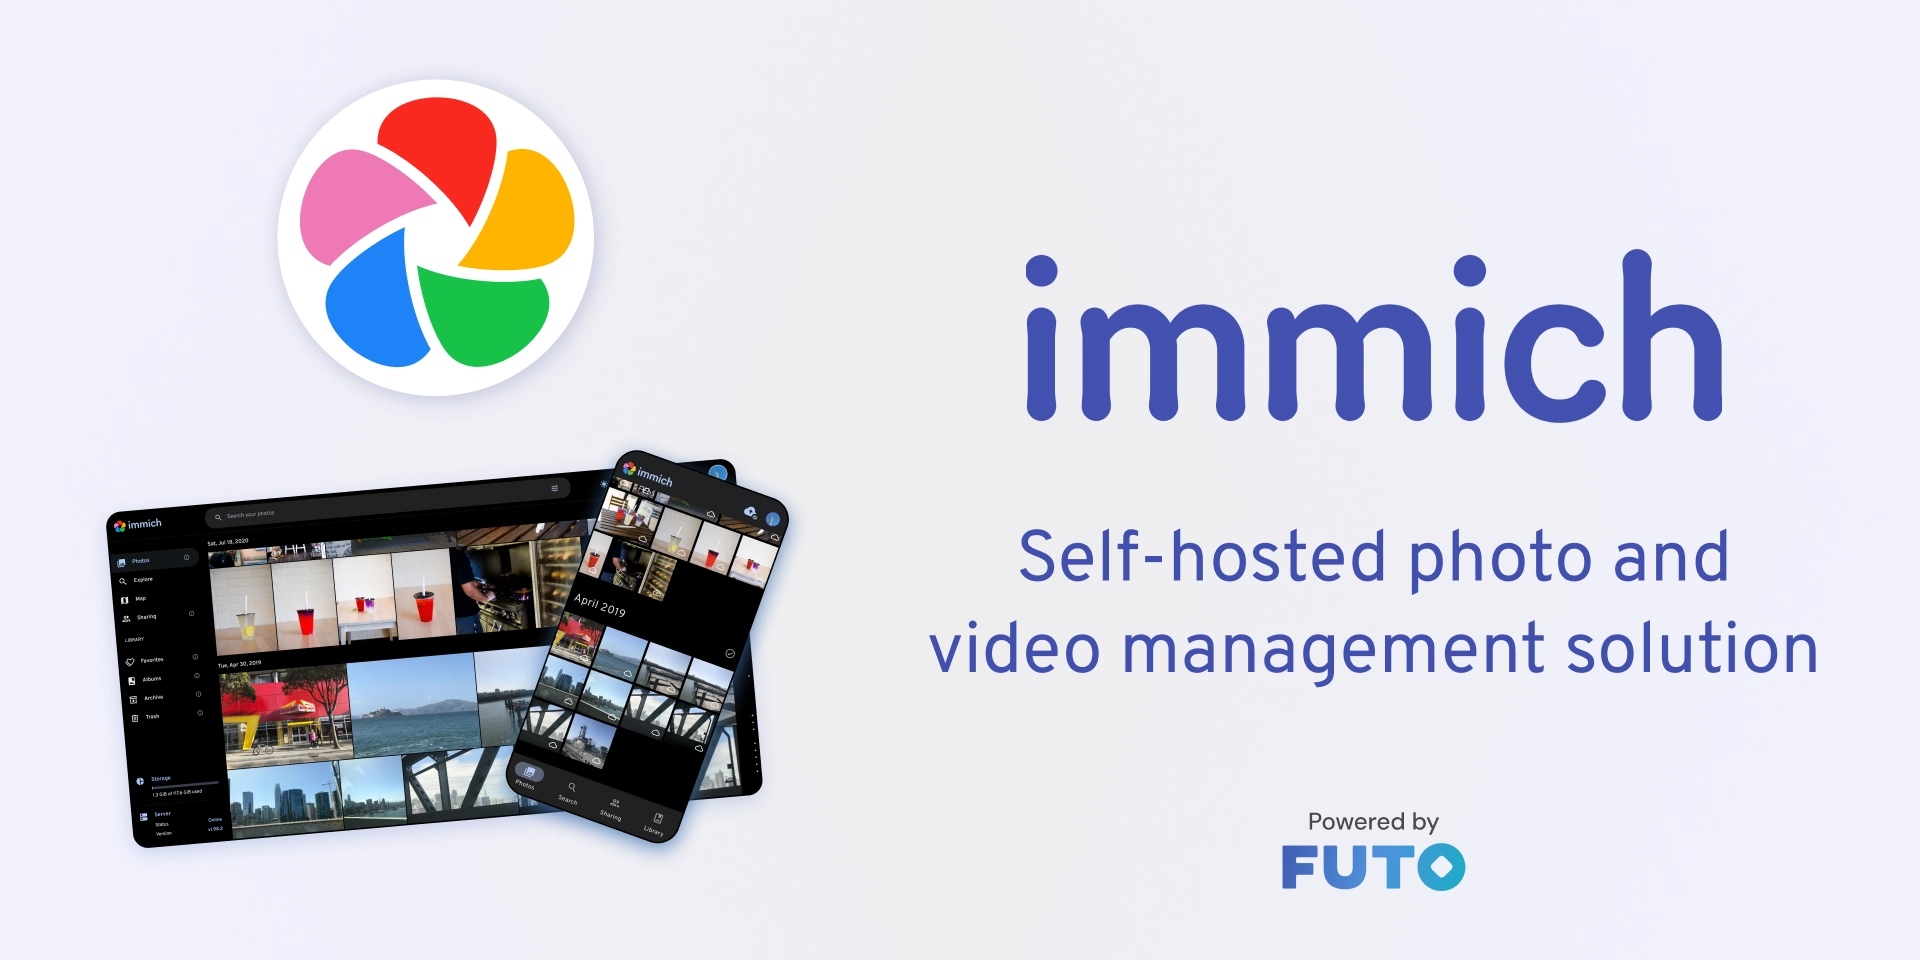
Immich is an open-source, self-hosted photo and video backup solution. In simple terms, it’s a “Google Photos” or “Apple Photos” that you can install on your own server. It has all the features you could want:
- Completely Free & Open-Source: No subscription fees, ever. The code is public and transparent, ensuring its security.
- Your Data is Private and Under Your Control: All your photos and videos are stored on your own hard drive. You have 100% control.
- Full Cross-Platform Support: It has beautiful clients for the Web, iOS, and Android, so you can access your memories anytime, anywhere.
- Smart AI Features: It can automatically recognize objects and scenes in photos, and even identify faces to group them by person! Search for “beach,” “group photo,” or a specific person’s name to find photos instantly.
- Automatic Backup: The mobile app can automatically back up every new photo and video you take, just like commercial cloud services.
- Family Sharing: Easily create shared albums to share life’s moments with family, saying goodbye to passing around compressed images.
And best of all, you don’t need an expensive server! A laptop from a few years ago, an old desktop, or even a tiny NUC or a capable Raspberry Pi can be transformed into your 24/7 family data center.
Ready? Let’s start our journey of turning old tech into treasure!
💻 What You’ll Need
Before we begin, you’ll need a few things:
- A “Server”: Any spare x86 computer will do. It’s recommended to have at least 4GB of RAM and a dual-core CPU or better. The size of your hard drive determines your photo album’s capacity—the bigger, the better!
- An Operating System: It’s best to install a modern Linux OS, such as Ubuntu Server 22.04 LTS. It’s stable, has great community support, and is friendly to newcomers.
- Docker and Docker-Compose: We will use Docker technology to deploy Immich. This might sound “technical,” but don’t worry—think of it as an app store that makes installing complex software as easy as copy-pasting a few commands!
🚀 The 3-Step Deployment!
We will use the officially recommended Docker-Compose method. The entire process just involves running a few commands on your server.
Step 1: Install Docker and Docker-Compose
First, connect to your server via SSH or open a terminal directly on it to install the Docker environment.
(For Ubuntu, you can just copy and paste the following commands)
# Update the package list
sudo apt-get update

# Install necessary tools for Docker
sudo apt-get install -y ca-certificates curl gnupg

# Add Docker's official GPG key
sudo install -m 0755 -d /etc/apt/keyrings
curl -fsSL https://download.docker.com/linux/ubuntu/gpg | sudo gpg --dearmor -o /etc/apt/keyrings/docker.gpg
sudo chmod a+r /etc/apt/keyrings/docker.gpg

# Set up the Docker repository
echo \
  "deb [arch=$(dpkg --print-architecture) signed-by=/etc/apt/keyrings/docker.gpg] https://download.docker.com/linux/ubuntu \
  $(. /etc/os-release && echo "$VERSION_CODENAME") stable" | \
  sudo tee /etc/apt/sources.list.d/docker.list > /dev/null

# Update the package list again and install Docker
sudo apt-get update
sudo apt-get install -y docker-ce docker-ce-cli containerd.io docker-buildx-plugin docker-compose-plugin
Once the installation is complete, run docker -v and docker compose version. If you see the version numbers, it means the installation was successful!
Step 2: Download and Configure Immich
1. Create a Working Directory for Immich: We need a dedicated folder to hold Immich’s configuration files.
# Create a directory named immich-app
mkdir immich-app

# Enter this directory
cd immich-app
2. Download the Configuration Files: Download the two core files needed for deployment from the official Immich repository.
# Download the docker-compose.yml file
wget https://github.com/immich/immich/releases/latest/download/docker-compose.yml
# Download the .env templatewget https://github.com/immich/immich/releases/latest/download/example.env
# rename the template file to .envmv example.env .env
3. Configure the Photo Storage Location: This is the most critical step! We need to tell Immich where to store your photos.
First, create a folder to store the original photo and video files. We can create it in our home directory.
# Create a directory named 'immich-photos' in the current user's home directory
# '~/immich-photos' is just an example; you can change it to any path you want,
# like a path on a large mounted hard drive.
mkdir ~/immich-photos
Next, edit the .env configuration file.
# Open the .env file using the nano editor
nano .env
In the file that opens, find the following line:
# The location where your uploaded files are stored
UPLOAD_LOCATION=./library
You need to change this to the absolute path of the folder you just created. For example, if your username is user, the path would be /home/user/immich-photos.
It should look like this after editing: /home/user/immich-photos。
After making the change, press Ctrl + X, then Y, and finally Enter to save and exit.
Step 3: Launch Immich!
Everything is ready. Time for the magic! In the immich-app directory, run the following command:
# Start the Immich services and run them in the background
docker compose up -d
Docker will now begin to download all the necessary service images for Immich and start them. This process will take some time, depending on your internet speed.
When the command finishes, you can check if all the services are running correctly with this command:
docker compose ps
If you see the STATUS for all services as running or healthy, then congratulations—your private photo cloud is successfully online!
📱 Connecting the Mobile App and Enabling Auto-Backup
Now it’s time to experience the full power of Immich!
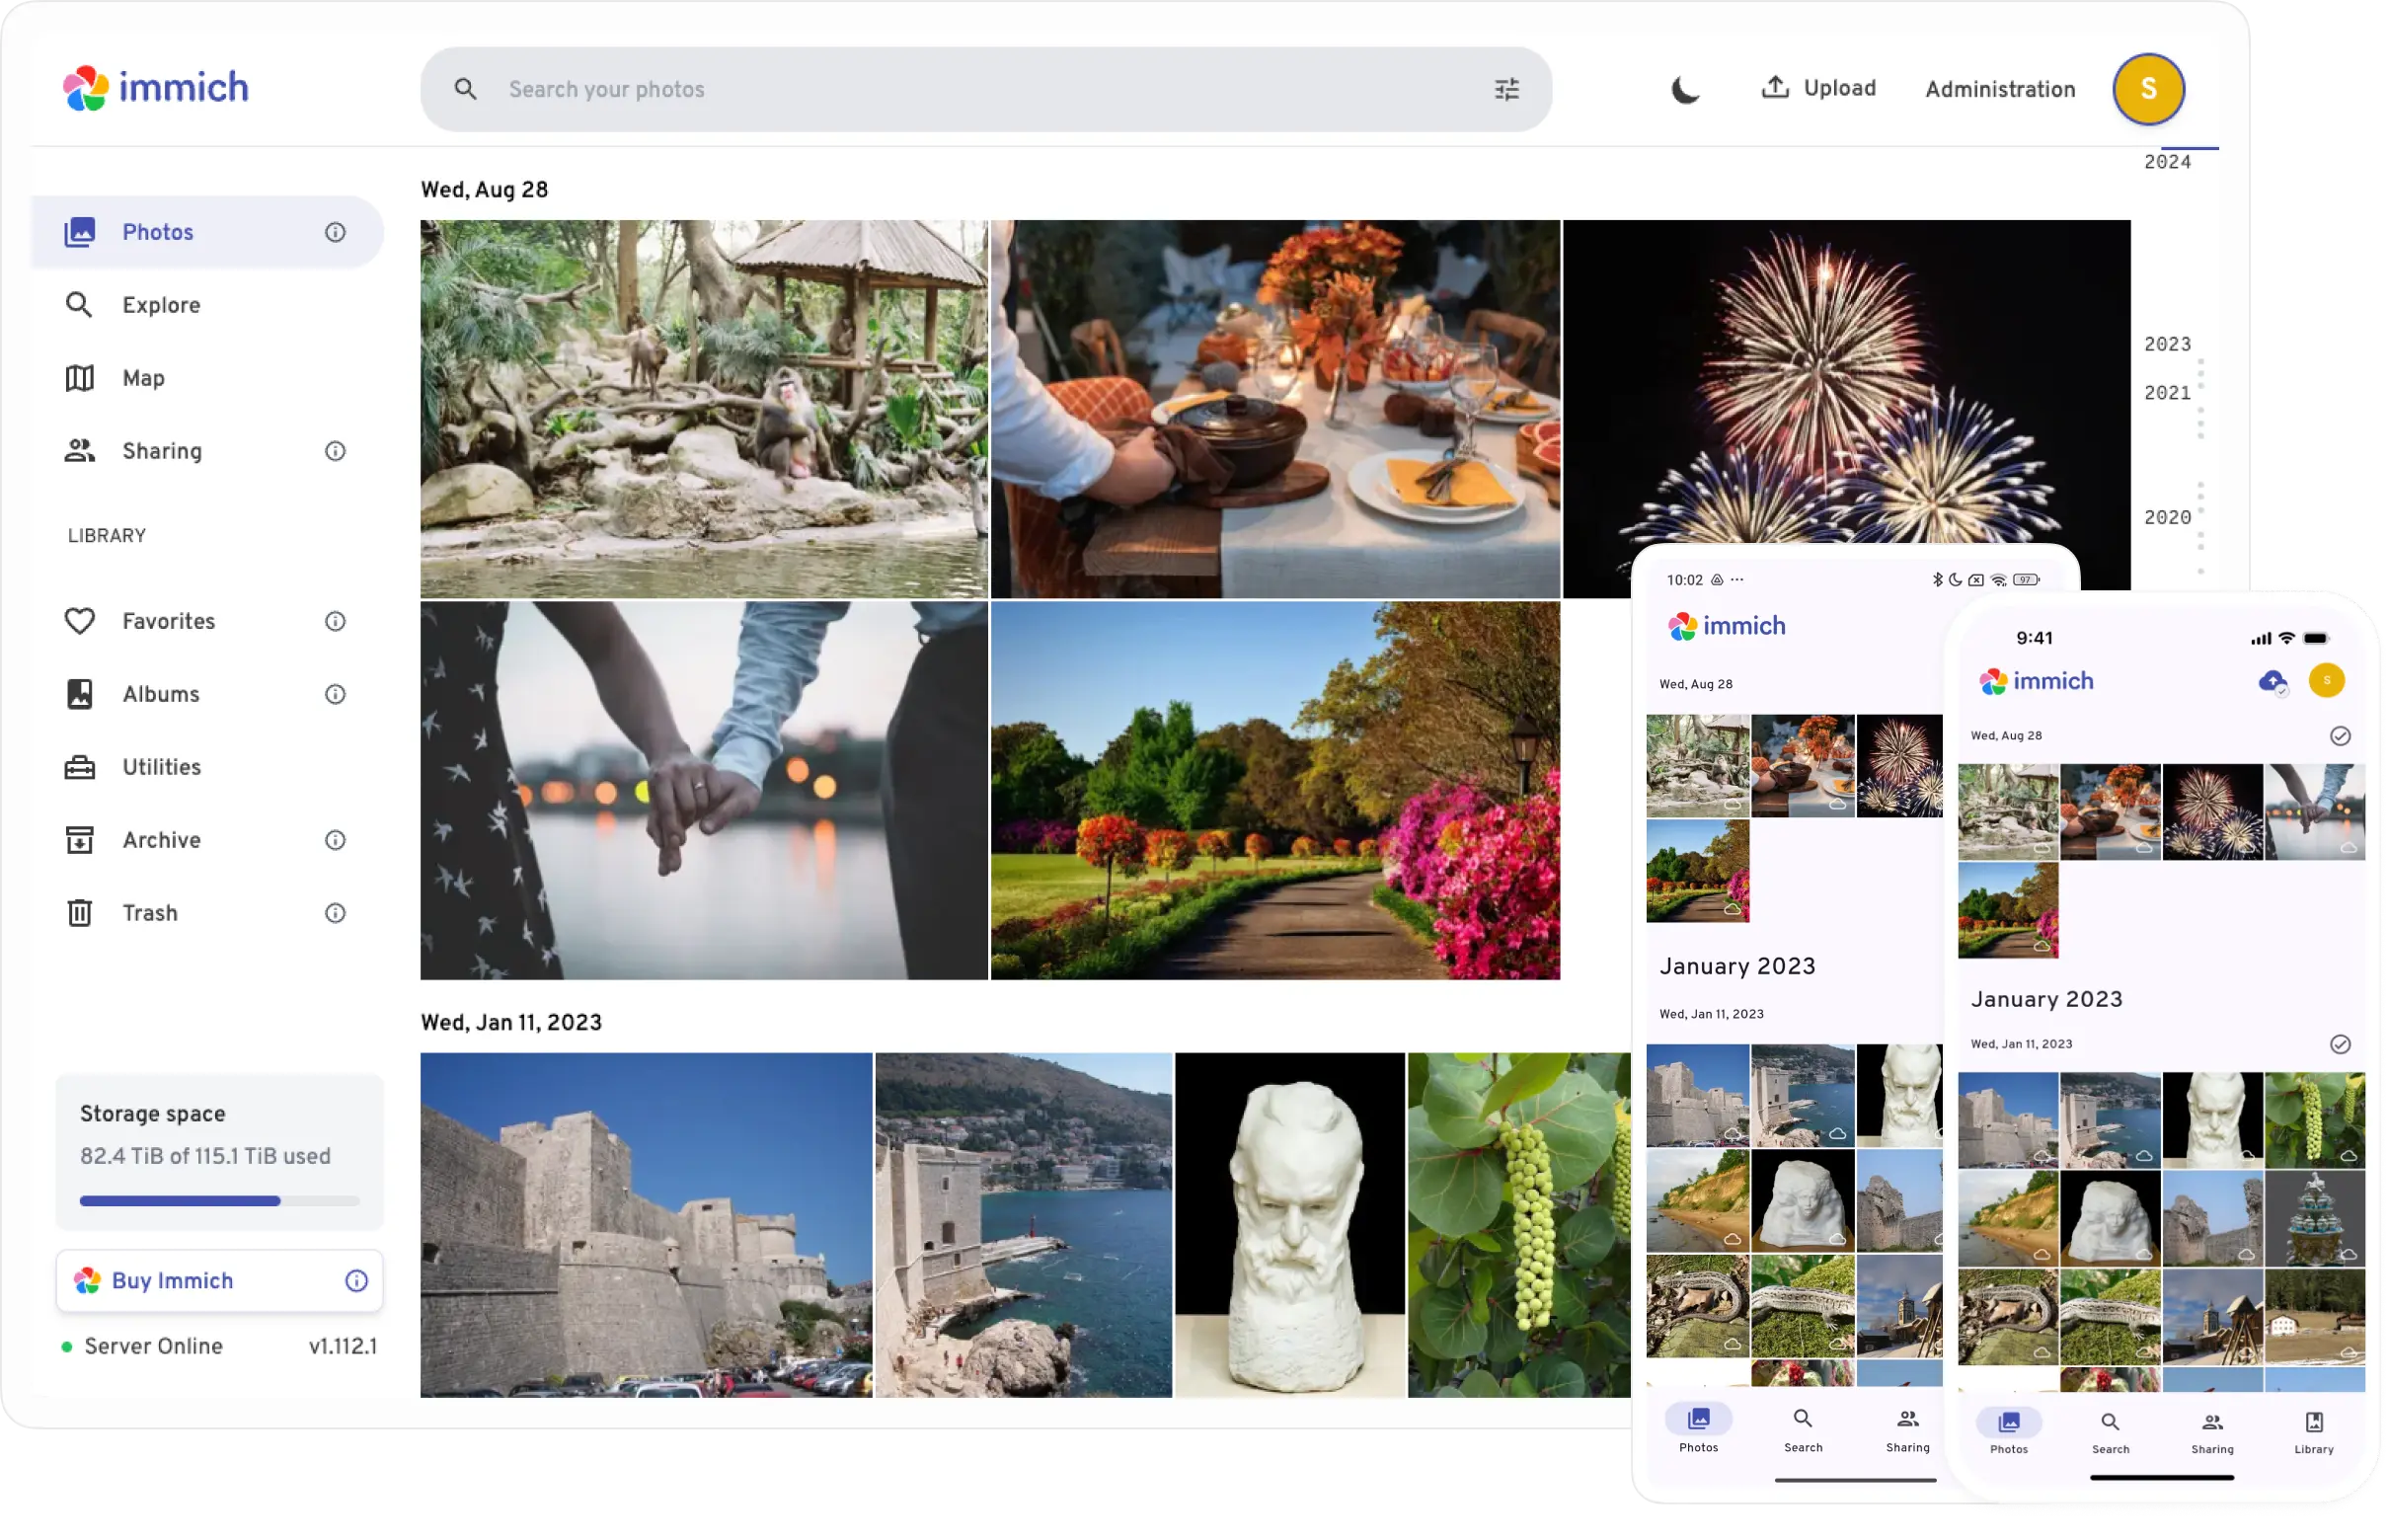
- Access the Web Interface: In your computer’s browser, enter
http://YOUR_SERVER_IP:2283. For example,http://192.168.1.100:2283. Tip: You can find your server’s IP address by typingip ain the server’s terminal. You will see the Immich setup screen. Click “Getting Started” and create your administrator account. (Image source: Immich Official Website) - Download the Mobile App: Search for “Immich” in the App Store or Google Play and download it.
- Connect to Your Server: Open the mobile app. It will ask you for your “Server Endpoint URL.” Enter the same address you used in your browser:
http://YOUR_SERVER_IP:2283, then log in with the account you just created. - Enable Backup: After logging in, the app will guide you through setting up backups. You can choose to back up your entire camera roll or select specific folders. Once you enable it, the app will quietly work in the background, uploading your photos and videos to your very own server. From now on, free up your phone’s storage and never lose a memory!
Conclusion
You have now successfully transformed a computer that might have been collecting dust in a corner into a powerful, secure, and private family data center. Not only does this save you a significant amount on cloud storage fees, but more importantly, you have taken full control of your family’s most precious data—the photos and videos filled with priceless memories.
Go ahead and invite your family to connect to this “family cloud” that’s exclusively yours, and start enjoying the freedom to share and relive your favorite moments anytime!